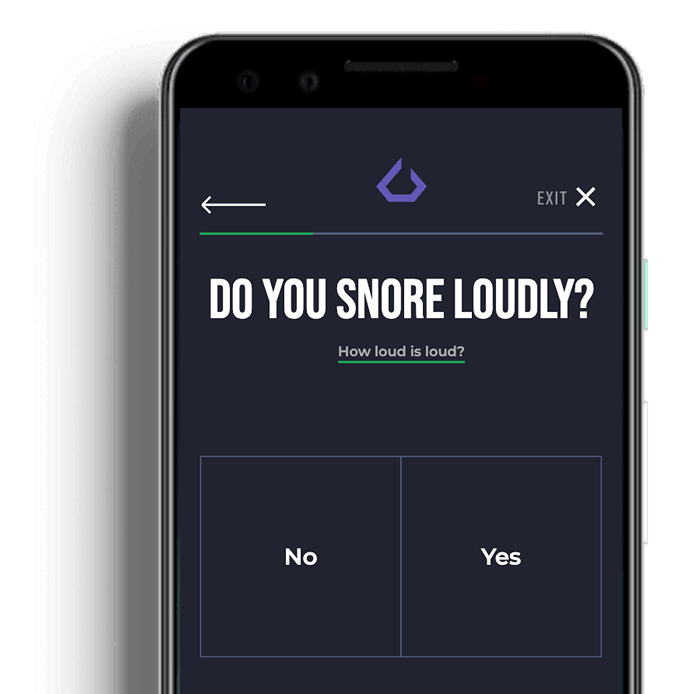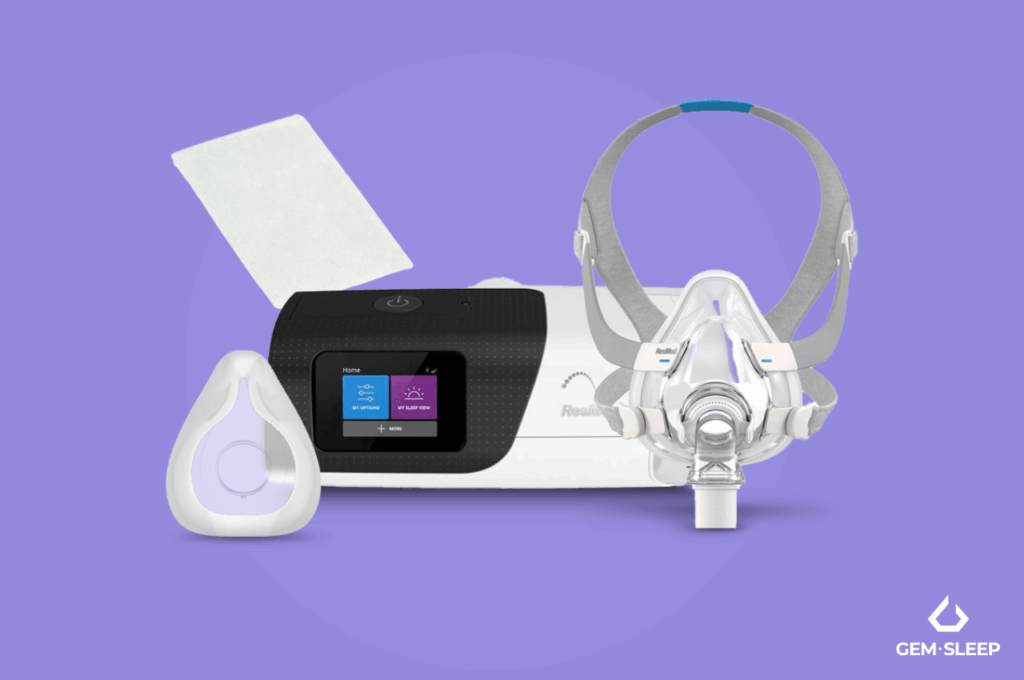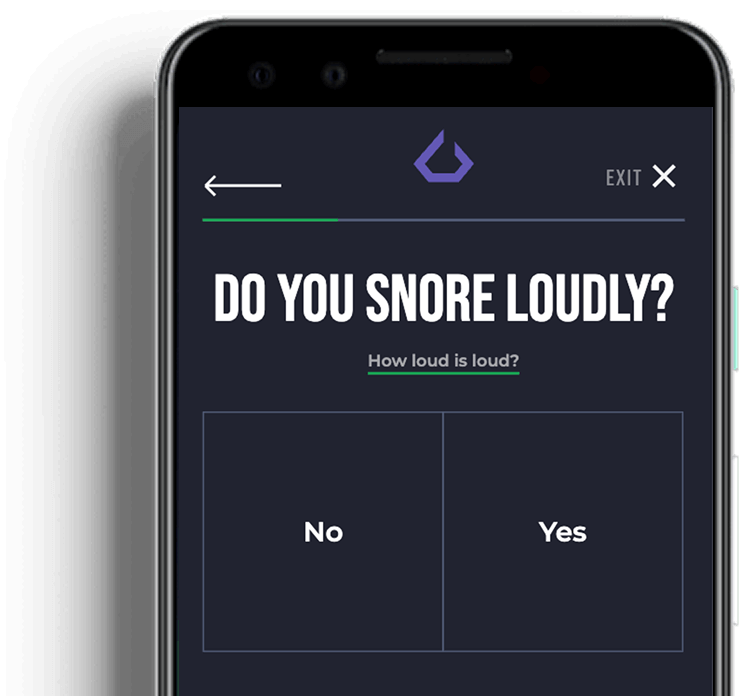
Like millions of other Americans, you’ve been diagnosed with obstructive sleep apnea (OSA). Now that you can finally name your sleeping problem, you likely feel a bit relieved. However, you may be anxious about the next steps in your treatment. Your clinician may determine that the best way to treat your OSA is by using a Continuous Positive Airway Pressure device, more commonly known as a CPAP. A CPAP helps keep your airway open at night, so you can have a deeper, more restful sleep.
Sounds easy, right? At GEM SLEEP, we believe you need some background education and coaching support for the best outcomes.
What CPAP Is?
Think of a CPAP as a tool, not simply a machine. It works by using airflow to consistently force air down your windpipe, keeping your airway open. Learning to use a CPAP takes time and involves a bit more than simply turning it on. As you learn about the functionality and work with your coach, you’ll get your CPAP set up to match your personal preferences.
The basic components of a CPAP include:
- Machine
- Hose
- Mask
- Tubing
- Water Tank
Each component requires minor adjustments to get started, and further adjustments overtime so that your CPAP therapy is successful. Remember, to be patient. Some people are successful right away, but many are not. Don’t get discouraged. Take advantage of GEM’s coaching support to help with adjustments and give you the encouragement you need starting with CPAP in the first 30 days.
Setting Up You and Your CPAP Up for Success
Find the Right Spot for Your CPAP
Like most people, you likely prefer a specific side of the bed to sleep on. You want to place your CPAP machine next to your side of the bed on a level surface (think nightstand) that is lower than the level of your head. Make sure you have enough space from the wall to easily attach the air tubing and fill or refill the water tank.
Your CPAP requires power so ensure that you can easily plug the power connector into the rear of the device and the other end into a nearby outlet. Make sure the cord can run along the floor or safely behind a dresser or chair, so it isn’t a tripping hazard.
Connecting the Air Tubing and Humidity Source
Once your CPAP machine is in the right place at the right height, you will connect your air tubing to the rear of the device. Each CPAP model comes with instructions. Read them thoroughly so you know where the air tube attaches, making it simple to take them off, then put them back on after cleaning.
Next, you’ll remove the machine’s humidifier. The humidifier helps regulate the humidity of the air passing through the machine, so your mouth and throat don’t get too dry. Fill the humidifier to the maximum water level mark with room temperature, distilled water. You need to use distilled, not tap water, to fill your humidifier to keep it cleaner and reduce the chance of any bacteria or mold.
Once the tank is filled with distilled water and closed, put it back into the machine. Connect the free end of your air tubing into your device mask, and you’re ready to use your CPAP for the night.
The goal for your first night isn’t perfection — the goal is to get comfortable using your device.
Finding the Settings That Are Right for You
It can take some time learning to sleeping with your CPAP device. Be patient. Within a couple of weeks, you should notice that you are sleeping better. In the meantime, there are a few adjustments that can be made to adjust to your personal preferences:
- Humidity Level: If you wake up with a dry or runny nose, it probably means your CPAP’s humidity level is too low. On the other hand, if you’re finding water droplets or condensation on your nose, mask, or air tubing, your machine’s humidity level is too high. You can adjust the humidity level easily by going into the machine’s options menu and finding a setting that works for you.
- Ramp Time: Not everyone can fall asleep with their CPAP running at the prescribed treatment pressure. The device can be adjusted to run at a lower air pressure setting and slowly increase it over time. This is a feature called Ramp Time, and it can be adjusted by going into your device’s options menu. Here are some reasons to adjust your machine’s Ramp Time.
- Turn on/increase the Ramp Time:
- If you’re having trouble falling asleep.
- If you are feeling slightly bloated from swallowing air.
- Turn down/off the Ramp Time:
- If you feel you’re not getting enough air pressure through the mask.
- Turn on/increase the Ramp Time:
NOTE: You should never adjust the pressure settings on your CPAP machine on your own. These setting adjustments should be made by a clinician, so the changes can be monitored for efficacy and safety. If you feel your CPAP machine pressure settings are not optimal, reach out to your sleep coach and wait for them to review and adjust appropriately.
Beginning CPAP therapy isn’t just turning on a machine. It takes time to get used to the machine and fine tuning the settings to what your body needs to feel comfortable.
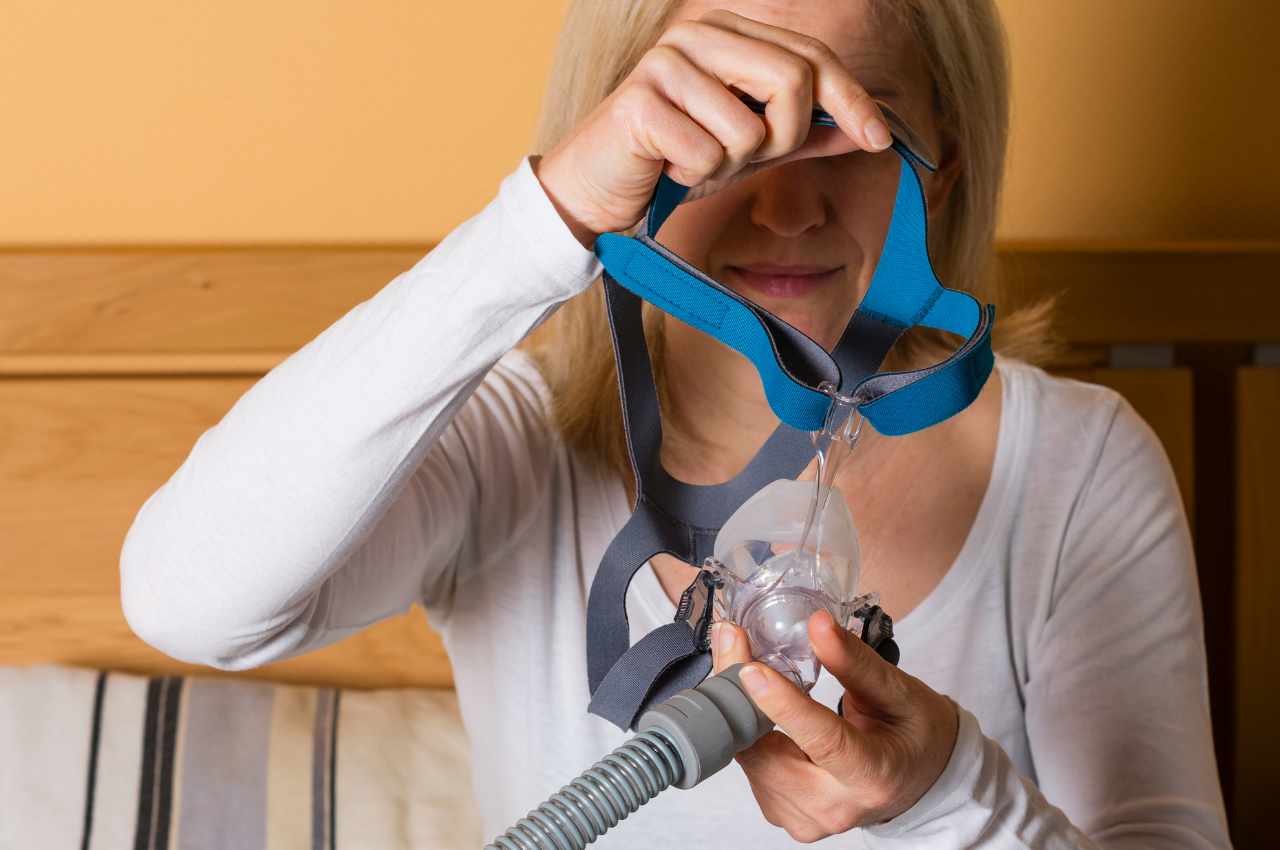
Putting on your mask
Getting the mask of your CPAP device to fit just right will help make sure you’re able to rest comfortably while the machine is doing its job. While there are a variety of mask options out there, here are some helpful tips for having yours on properly:
- Hold the mask cushion to your nose or face – Do this while the device is off and the mask is disconnected from the air tube.
- Place the straps or loops around the back of your head or ears, respectively – Make sure the material isn’t twisted and is lying flat against your head.
- Gently tighten the straps/clasps of the headgear from top to bottom – Do not overtighten; the fit should be airtight but comfortable and light on your face. You should be able to easily lift it off your face in order to speak.
- Reconnect the air tube to the mask and turn on the device – Make any further adjustments to the mask for comfort while in bed.
Soon you will be on your way to a refreshing night of sleep!
Your First Nights with CPAP
Sleeping with a CPAP will feel different at first. Common first-week experiences include:
- New sensations when breathing
- Mild anxiety
- Frustration
The adjustment period doesn’t mean you have to be uncomfortable. Continue adjusting the fit, humidity level, and ramp time. Sleep improvements typically happen in the first 1-2 weeks.
Reach out to your coach as you get started with CPAP at any time. Your coach will respond during the next business day (Monday-Friday, 8 a.m. to 5:00 p.m. CST). They can give you advice on settings and trouble shoot for your specific situation. Once the machine and your body are dialed into the new routine, you should notice more rest, clearer mornings, less snoring, and more energy.
Troubleshooting with Confidence
Here are a few common adjustments:
| Dry nose, Runny nose, or Condensation | Adjust humidity levels |
| Not Enough Airflow | Adjust ramp time or talk to your coach |
| Mask Leaks | Refit straps or try a different mask type – Your coach can offer suggestions or a virtual mask fitting |
Ask your coach for help as you start with CPAP. Doing so isn’t a sign of failure. Rather, you are asking your coach for success tips to ensure you get the rest you need.
New Morning Routine
Your new bedtime routine also means a new morning routine. While you are used to turning off your morning alarm, you now must build the habit of turning off your CPAP as well. Some models of CPAP will turn off automatically when you take your mask off. Others require you to turn off the machine manually. Check the equipment for any breakage or cleaning needs.
Better Sleep Starts with Small Steps
Congratulations! You’ve now successfully started CPAP Therapy. You are on the way to a better night’s sleep. Consistent CPAP use is your goal. Stick with it. Talk to your coach. Soon you will master CPAP and properly treat your obstructive sleep apnea.
We are always here to help.
If you have questions or would like additional support, please contact us at info@gem.health.
Today’s the day to change your life.